
Step 1: Clean and Prep the Door
Wipe down the door to remove all the girt and grime.
Give a light sanding to the entire door to give the paint a rough surface to grip.
Depending on the condition of any old paint, you might need to strip it down too. Fill any old holes with wood putty.
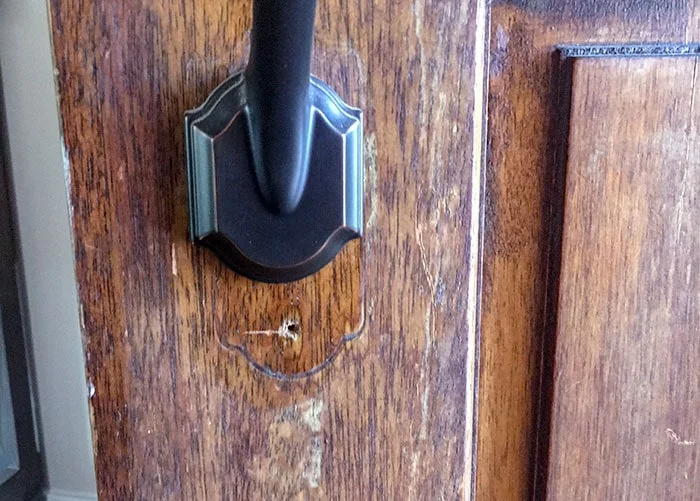
We had an indent and holes from when the hardware had been changed in the past. Yeah, the door was in pretty sad shape.
Step 2: Pick Out the Front Door Color
There are a lot of ways to do this – you could base it on your home exterior, home interior or just what you think will work.
But always test. Even then, you might fail… just paint again!
I decided to go with a navy blue because the exterior of the house is a peach-pink (which I am NOT a fan of by the way).
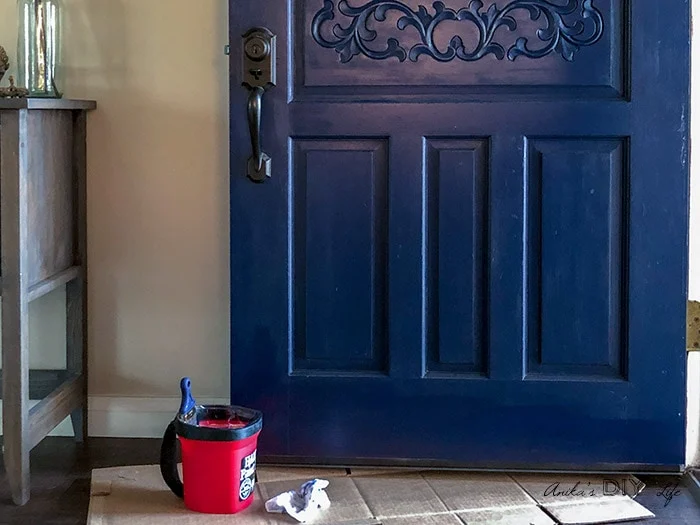
I tested it out in a corner of the door and thought it looked great. I went through the entire process of painting the door but when I was done, it seemed too “blah”.
And the family, including my 5-year old, agreed. It just didn’t feel like us. So well, I painted it all over again!
Step 3: Tape Hardware, Hinges and Any Glass Inserts
Since I was painting the door without taking it off the hinges, I taped the hinges, all of the hardware and also the glass insert.
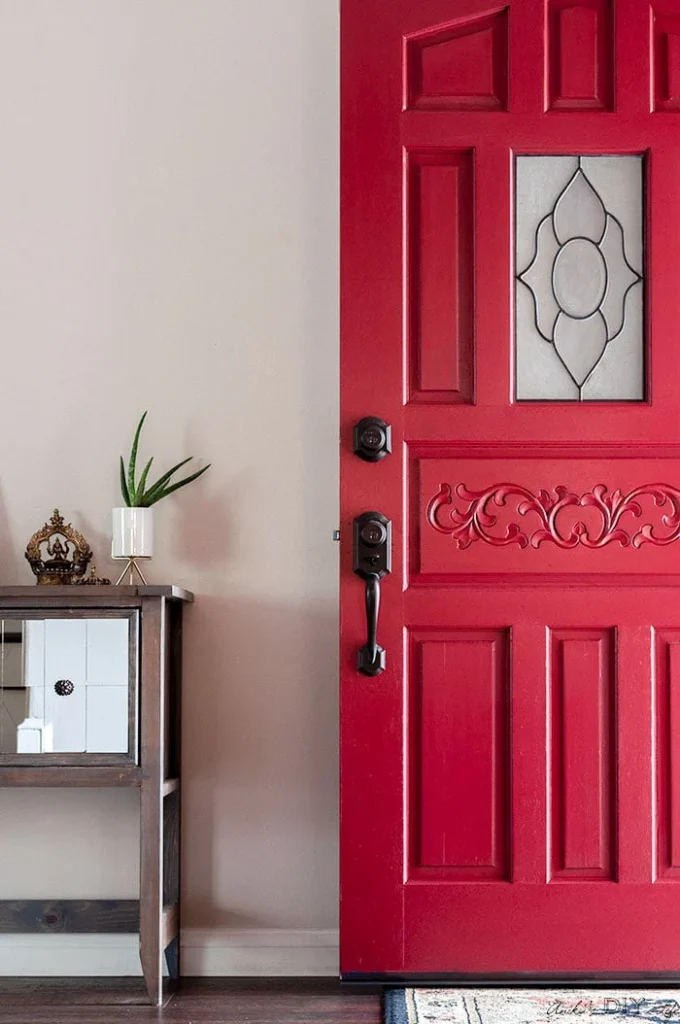
Step 4: Paint the front door!
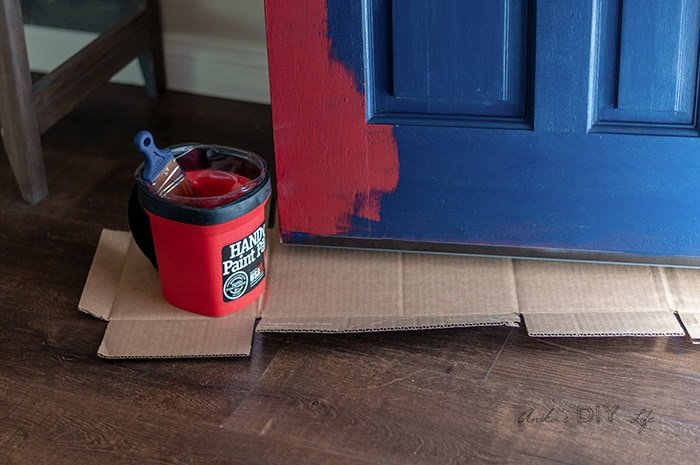
After testing out a few colors, we decided to go with a red and everyone loved it!
It ties in perfectly with our home decor and vibe.
One of the staples in my painting arsenal is the HANDy Paint Pail.
I love how you can hold it comfortably with the adjustable strap without the fear of making a mess. Plus, the disposable liners make clean up super easy.
But the genius part is the magnetic brush holder! No cans or trays laying around to accidentally trip on or the dilemma of where to keep the paint brush.

I was really excited to finally start painting the door!
I used a paintbrush to paint the entire door because there are a lot of details on this door.
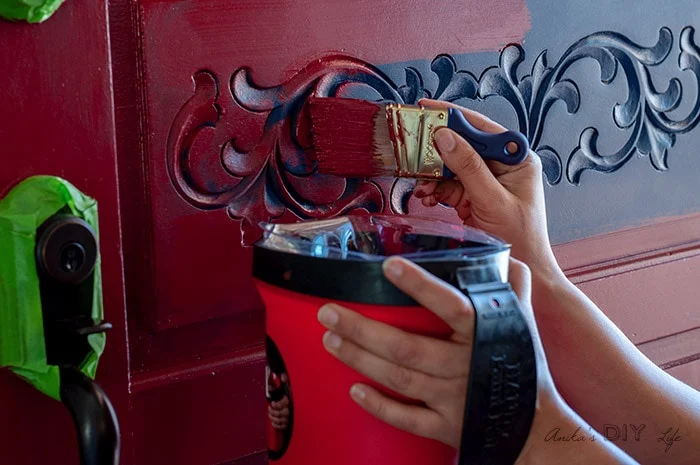
The door did need 2 coats to get full coverage and I was able to complete one coat on each side in about 30 minutes.
Step 5: (Optional) Glass Insert Makeover
If you have a glass insert like mine and want to hide the design in it, tape around it to protect the door and spray paint with a Frosted glass spray paint.
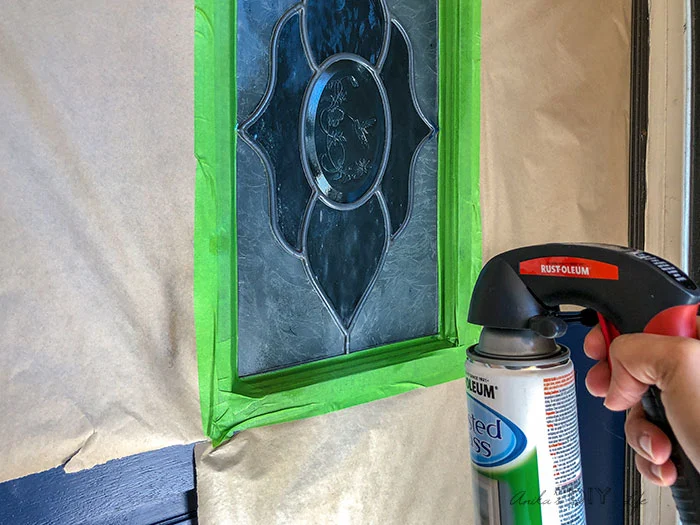
I like that it gave the entire glass a matte finish and hid the designs really well.
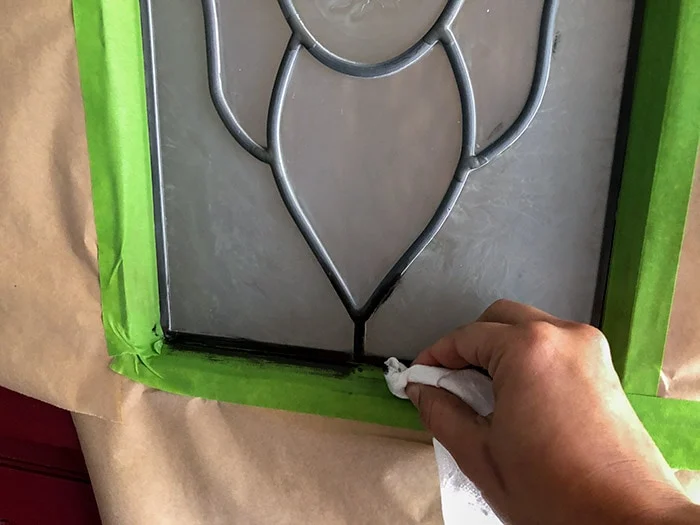
The decorative metal in the insert looked really old and worn. To give it new life and stand out, I used rub n buff in ebony.
That’s it! An easy, quick and lazy way to give the door a makeover.
And because who doesn’t love a good before and after comparison, here it is –
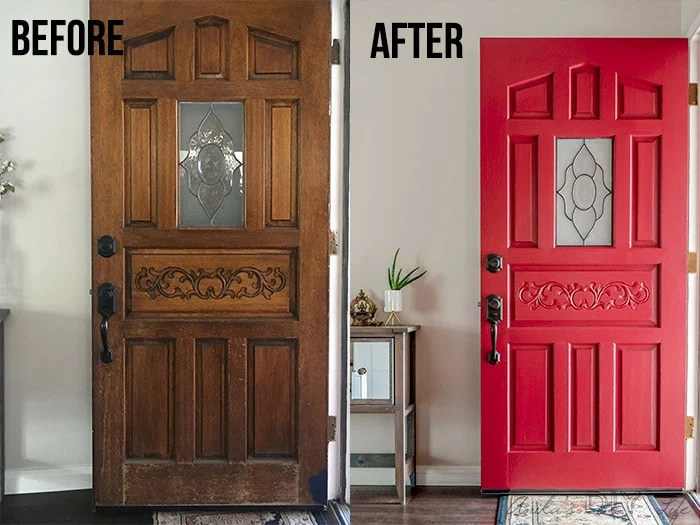
We were planning on the painting being a temporary solution before we actually change it, but the door practically looks new now so it’s a keeper!